Matt Pocock Skills: The Main Flow, Explained
The mattpocock/skills repo has 174,000 stars and 7.5 million downloads, yet it shipped without a proper tutorial. That gap leaves beginners guessing at the obvious questions: what order do you run these skills in, how do you install them, and how do you wire them into a real project? The Matt Pocock skills main flow answers all three. This walkthrough covers the core sequence you need to get started — not the experimental extras, just the path every piece of real work travels through.
Install and Set Up the Skills
Installation runs through one command: npx skills@latest add mattpocock/skills. This assumes you have Node.js installed, since npx ships with it. The command pulls Vercel’s skills.sh installer, which fetches the GitHub repo and walks you through setup.
You’ll see two groups of skills. The official Matt Pocock skills are the ones blessed as good enough for public use, while the “other” group holds experiments that may get deleted later. Select the official set, then choose which agents to target — Claude Code, Cursor, Codex, and others are all supported. Pick your install scope next. Project scope keeps a team on one shared skill set; global scope suits a solo developer. When asked how to link the files, choose symlink — it’s the clean, easy option.
The skills stay light on context. Because most are user-invoked with short descriptions, the whole set adds only around 660 tokens.
Configure the Repo with /setup-matt-pocock-skills
Run /setup-matt-pocock-skills next. This configures the repository so the skills know where to save your work. First it asks which issue tracker to use. You can point it at GitHub, Linear, Jira, or plain local markdown — you just tell the agent what you want and it sets that up. People constantly ask how to make these skills work with Jira or Linear; the answer is that this step already does it.
Then it sets triage labels, which the skills use to communicate ticket information. The defaults are fine for most people. Finally it asks about domain documentation. Single context works for 99% of projects, while multi-context is reserved for large monorepos with separate bounded contexts. The setup writes a few links into your CLAUDE.md and you’re ready.
Walk the Main Flow: Grill, Spec, Tickets, Implement
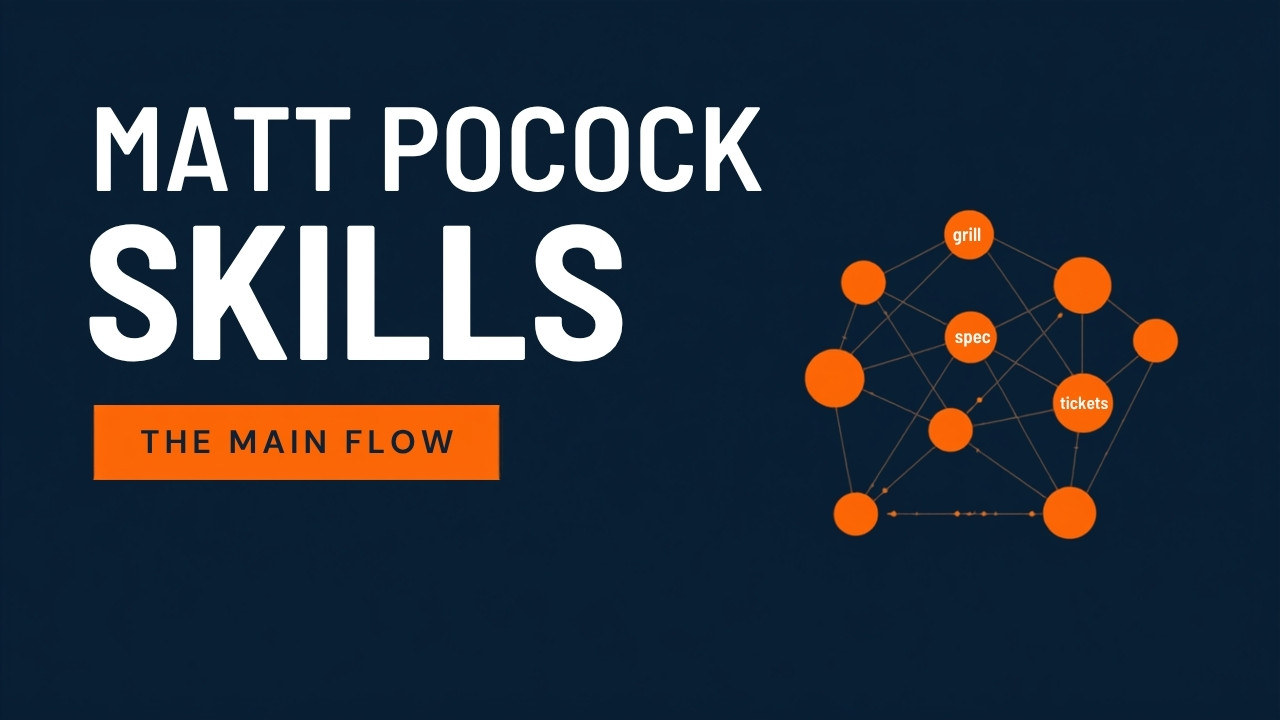
The default flow starts with /grill-with-docs. You kick it off with a rough idea — it can be as vague as “remove most of the internal tooling from this CLI.” The skill explores your code and interviews you one question at a time until you and the agent reach a shared understanding, then it lays out a plan. It records what it learns in context.md and ADRs as it goes.
Now you hit a fork. If the work fits one session, run /implement directly. If it needs several sessions, run /to-spec to compress the discussion into a detailed spec, then /to-tickets to slice that spec into single-session chunks. Each ticket is sized to fit one context window.
To finish, clear the context, reference the tickets, and run /implement. The implement skill runs type checks, builds, and then invokes /code-review in sub-agents.
Why the Context Window Matters
A recurring theme runs underneath the whole flow: guard your context window. Pocock describes a “smart zone” that ends around the 140K-token mark. Past that point, attention degrades, the model gets noticeably worse, and hallucinations creep in.
This is why the spec-and-tickets split exists. Rather than cramming a large job into one bloated session, you break it into slices that each fit comfortably inside that smart zone. You implement one ticket, check whether you’ve hit the ceiling, and clear the context between tickets. The code review runs in fresh sub-agents on purpose — an agent that just wrote code tends to approve its own work, while a clean context reviews it far more honestly.
Key Takeaways
- Install the whole set with
npx skills@latest add mattpocock/skills, then run/setup-matt-pocock-skillsto configure your issue tracker, triage labels, and docs layout for the repo. - The Matt Pocock skills main flow runs in a fixed order: grill-with-docs, then either straight to implement, or to-spec and to-tickets for multi-session work, then implement.
- Use grill-with-docs to turn a vague idea into a tested plan by answering its questions one at a time until you and the agent share the same understanding.
- Split large work into spec plus tickets so each ticket fits inside a single context window and stays within the model’s reliable “smart zone” below roughly 140K tokens.
- Let the implement skill run code review in separate sub-agents, since a clean context reviews code more honestly than the agent that just wrote it.
Conclusion
Getting value from this skills library isn’t about memorizing 38 tools. It comes down to running a small, ordered sequence and respecting how much your agent can hold in mind at once. Align first, spec and slice when the job is big, implement one piece at a time, and review with fresh eyes. That disciplined loop is the whole point.