How to Implement Features with AI the Right Way: A Structured Multi-Agent Workflow
Introduction
Most developers using AI for coding follow the same pattern: paste a prompt into ChatGPT, copy the output, hope it works, and debug when it doesn’t. It’s fast — until it isn’t.
There’s a better way.
Instead of treating AI like a vending machine for code, you can build a structured, repeatable workflow where AI agents handle planning, implementation, testing, and review — while you stay in control of the decisions that matter.
In this post, we’ll walk through a complete multi-agent AI development workflow that incorporates planning, test-driven development (TDD), and code review from start to finish. By the end, you’ll have a process you can apply to any feature on any project.
The Problem with Ad-Hoc AI Coding
Generating code with AI is easy. Generating code you understand, trust, and can maintain is much harder.
The typical “copy from ChatGPT” approach has a few core problems:
- No shared context — the AI doesn’t know your codebase, your conventions, or your constraints.
- No structure — you get code, but no plan, no tests, and no review.
- No accountability — if the output is wrong, you often don’t know why until something breaks.
The workflow below solves all three.
The 6-Step Multi-Agent AI Workflow
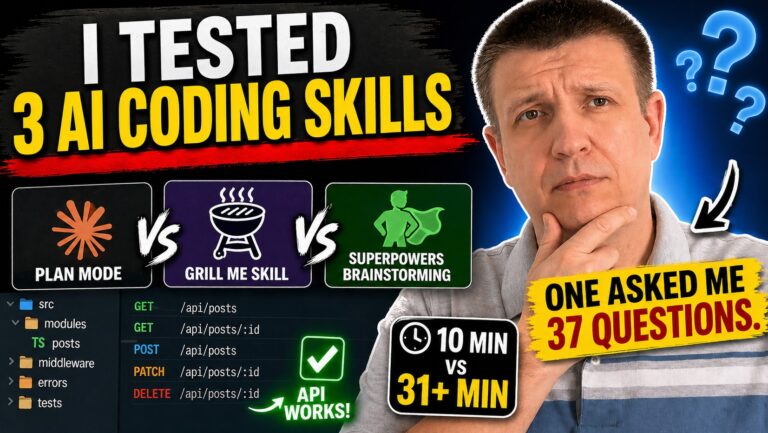
Step 1: Provide Deep Context with “Grill with Docs”
Before writing a single line of code, the AI needs to understand your project — not just the task.
Grill with Docs is a skill (created by Matt Pocock) that prompts the AI to ask you structured, in-depth questions about your codebase, design decisions, and requirements. Think of it as a discovery session before implementation begins.
After the session, the AI produces a context.md file that captures:
- A glossary of terms (e.g. what a “post” or “slug” means in your project)
- The data model and core entities
- The agreed API surface
- Migration and strategy decisions
This shared understanding — sometimes called a ubiquitous language — is the foundation of everything that follows. As you work on more features, new terms are added to this document automatically.
Pro tip: If you don’t know the answer to a question during the grilling session, choose the recommended option. In practice, the AI’s recommendations are usually solid.
Step 2: Generate an Implementation Plan
Once context is established, don’t jump straight into implementation. Instead, generate a structured implementation plan using the Superpowers plugin for Claude Code.
The plan is extensive — often over 1,000 lines — and contains:
- Every task required to implement the feature
- Tasks grouped by dependency so parallel work is identified
- Enough detail that lower-cost models can execute individual tasks
This is a critical step. Writing the plan with a capable model (like Claude Opus) means the actual implementation can be done by lighter models (like Haiku), reducing token costs without sacrificing quality.
Step 3: Implement with Sub-Agents and TDD
With the plan in place, you can now kick off implementation using the sub-agent TDD skill from the Superpowers plugin.
Here’s what happens:
- Each task in the plan is assigned to a separate sub-agent
- Tasks that can run in parallel are executed simultaneously
- Each sub-agent starts with a clean, focused context window — no noise from unrelated tasks
Crucially, this implementation follows Test-Driven Development (TDD):
- Red — Write a failing test first
- Green — Write just enough code to make it pass
- Refactor — Clean up the code, validated by the test
TDD isn’t just a human coding practice. It applies just as well to agentic coding — and it significantly improves output quality because the agent has immediate feedback on whether its code is correct.
Step 4: Manual Code Review
Once the code is written, you review it.
This step is non-negotiable, even with AI assistance. Manual review serves two purposes:
- Quality control — Check that structure and design decisions match your preferences. If the AI placed logic in the wrong file, or made an architectural choice you disagree with, now is the time to change it.
- Learning — If you’re developing your coding skills, reading AI-generated code is valuable. Ask the AI to explain any functions or patterns you don’t recognize.
The goal isn’t to catch every bug — that’s what the next step is for. The goal is to ensure the code aligns with how you want your codebase organized.
Step 5: AI Code Review
After your manual pass, run a code review using a fresh AI agent.
A second AI pass is valuable because:
- A clean context means the reviewer isn’t biased by the decisions made during implementation
- It can catch edge cases the implementation agent missed
- Using a different model (e.g., Claude Opus reviewing code written by Sonnet) reduces blind spots
If you only have access to one model, still do this step — even the same model reviewing its own code in a fresh session will often surface issues it missed the first time.
The code review skill in the Superpowers plugin will identify issues, suggest fixes, and apply them — giving you a summary of what changed and any deferred items to address later.
Step 6: Manual QA / User Acceptance Testing
The final step is testing the feature from the end user’s perspective.
Ask the AI to generate a QA plan for the feature. The output will include:
- All core scenarios to test
- Edge cases to validate
- Step-by-step instructions for each test
For an API project, you can test using Postman, a REST plugin in your editor, or even bash commands the AI suggests. For a UI, you’d test directly in the browser.
This step is about one thing: making sure the feature actually works the way users expect — not just the way the code was written to behave.
Real-World Example: Implementing a Post Slug Feature
To make this concrete, here’s how this workflow was applied to a real feature on a blog API project.
The feature requirements:
- Add a
slugfield to the Post model (unique, auto-generated from the title) - Format: kebab-case (e.g.
my-post-title) - Auto-update the slug if the post title changes
- Add a new endpoint to retrieve a post by its slug
What the workflow produced:
- A
context.mdcapturing the data model and slug generation strategy - A 1,000+ line implementation plan broken into 13 parallel tasks
- 13 commits, one per task, each validated by tests
- A code review that caught edge cases and minor issues
- A full UAT plan covering all slug scenarios
All of this — with AI agents doing the heavy lifting — while the developer stayed in control of every major decision.
Key Takeaways
- Context first. The quality of AI output is directly proportional to the quality of context you provide. Grill with Docs forces this upfront.
- Plan before you build. An implementation plan written by a smart model lets cheaper models handle execution — saving tokens without sacrificing quality.
- TDD works for agents too. Sub-agent TDD produces higher-quality code because each agent gets immediate feedback through tests.
- Stay in the loop. Manual code review isn’t optional. You need to understand what was built.
- Two reviews are better than one. A second AI pass with a fresh context catches what the first missed.
- Test like a user. AI-generated QA plans give you a structured checklist — but you still need to run the tests yourself.
Conclusion
AI-assisted development isn’t about writing code faster. It’s about having a repeatable process that produces code you actually understand and can stand behind.
The six-step workflow covered here — context gathering, implementation planning, sub-agent TDD, manual review, AI code review, and manual QA — gives you that process. It takes slightly longer than copy-pasting from an AI chat, but the output is in a different league: structured, tested, reviewed, and yours.
Apply this to your next feature and see the difference.